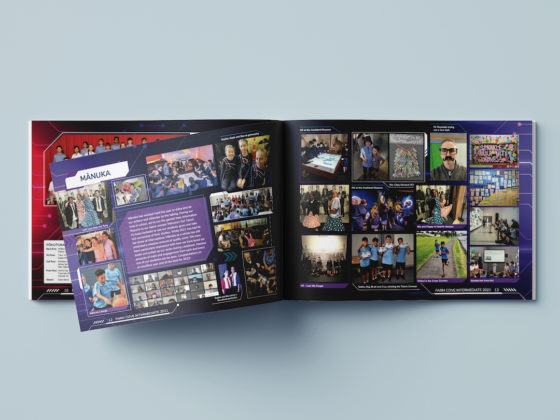
Photos of sports games and athletic events are commonplace in a yearbook. They help to tell a story and bring colour to pages, and when done well, add visual movement and suspense. Here are some ways to guarantee success with your sports photography.
Sports Photography Preparation
Learn the Sport
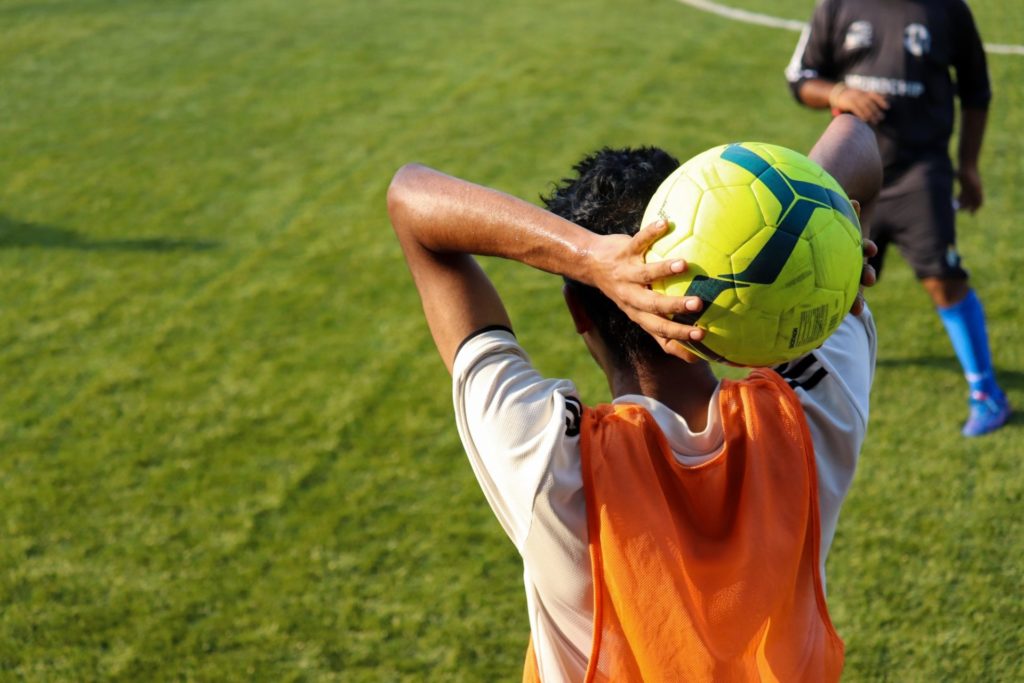
The first step to achieving great sports photography is to understand the game. If you are aware of the rules, game format and the position of players, you can predict gameplay before it happens. This means you will know when to expect line-outs or penalty shots, and know where to position yourself for the perfect snap!
Understand the Weather Conditions
The weather and time of day have a huge effect on the outcome of photos. Learn how they affect your shot and prepare for the day’s conditions so you won’t be caught out.
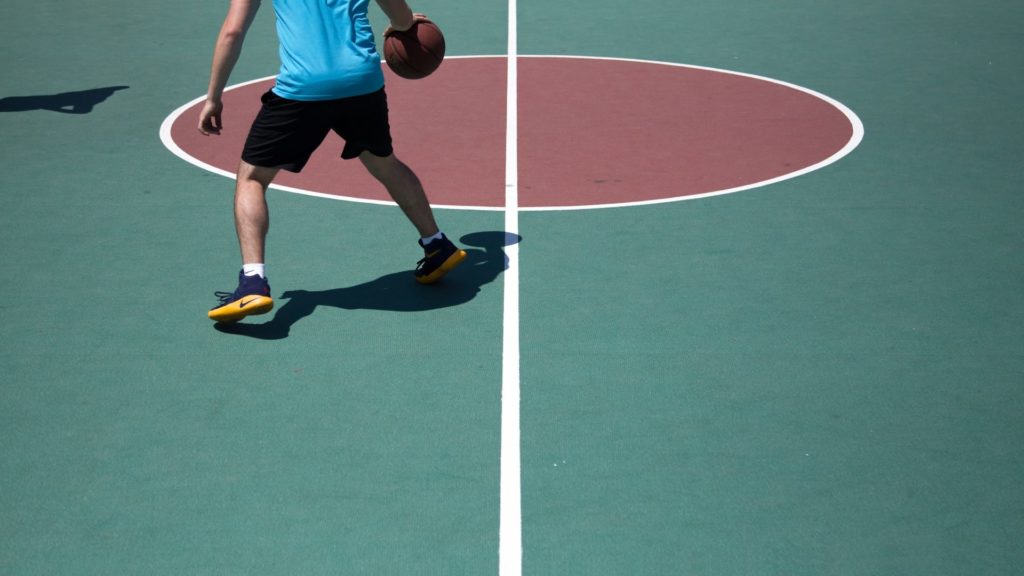
A bright blue sky looks great in person but can make it tricky to get the perfect photo. Without clouds to help block the harshness of the sun, you may end up with an overexposed, washed-out image. Midday sun can also cast unappealing shadows on faces, and make it hard to capture emotion. If you have the option, photos taken during the early hours of the day or late afternoon will be easier to work with.
If the game is during the middle of a sunny day, position yourself between the sun and the court or field. This way, you can avoid a lot of shadows, and your players won’t be washed out by the bright sun behind them!
Sunny days are a good opportunity to focus on taking wide angle shots instead of closeups. This way, you can capture a beautiful sky and the focus on faces will be less important.
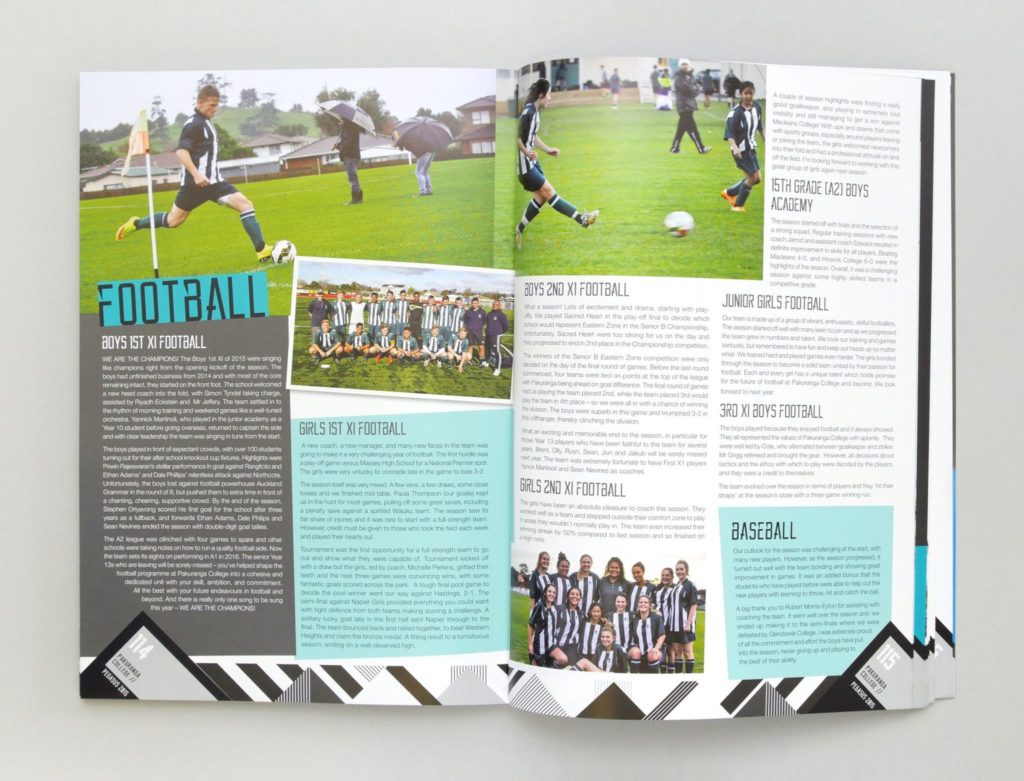
Overcast, grey days are surprisingly great for taking photos! Clouds help to mute the harshness of the sun and enhance the colours in your shot instead of washing them out. On rainy days, focus on taking closeup shots of the team, as they won’t be squinting at the bright sun! Focussing on closeups of players also means your images won’t be dominated by the grey sky.
Arrive Early
Arrive at the game with plenty of time to spare. This gives you time to prepare your equipment and get a good position before the crowds arrive. Check which way the sun is facing and position yourself between the sun and the game. Take some test photos and use this time to adjust the settings on your camera.
Arriving early also ensures you don’t miss any great pregame moments worth capturing. Now is also a good time to chat with other spectators and see who else is taking photos that may be good for the yearbook!
The Photography Equipment
Camera Photography
If you have a DSLR camera, put it to good use! A good camera can yield great results if you know how to use it. If all the buttons and settings overwhelm you, the Auto mode should still produce some good photos. For better control and a chance to get creative, try out Manual mode.
The shutter speed dictates the length of time that your image is exposed to light. A fast shutter speed lets less light in, allowing you to capture a very quick moment in time. This makes a fast shutter speed ideal for fast paced sports. Set the shutter speed to at least 1/500 of a second to focus on your subject without blur.
Aperture refers to how much light is allowed through the lens. A large f/stop number lets in less light than a low f/stop number. A low f number that lets in a lot of light is great for sports photography. Due to the shallow depth of field, the subject will be in focus while the background will blur. Select an f/stop number of 3.5 or lower for good results.
Try out burst mode to increase your chances of getting a great shot. Your camera will take multiple images by just clicking the button once.
Smartphone Photography
A good camera doesn’t make the photographer! You can achieve great photos on most smartphones, many of which come with different modes and settings to try out.
Much like with a DSLR, the more photos you have to choose from, the better the results. Use burst mode to take lots of images at once so you don’t miss out on a great shot.
Most smartphones give you the option to take photos that are 4:3, 16:9 or square. 4:3 won’t take up your entire phone screen like 16:9 does, but will actually give you the largest shot. 16:9 mode just zooms in, resulting in a narrower, but not longer, shot. Shoot in 4:3 and crop your images later on.
Check out our article on phone photography for more tips.
Taking the Shot
Know Your Photo Angles
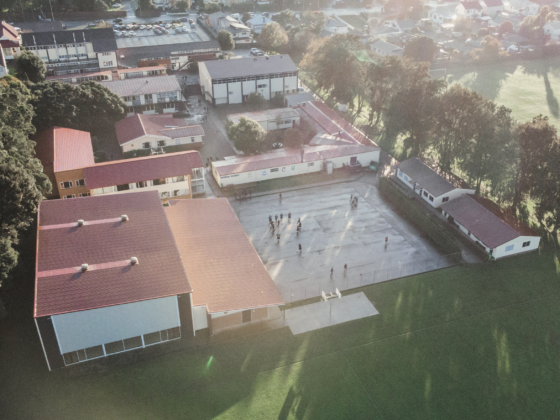
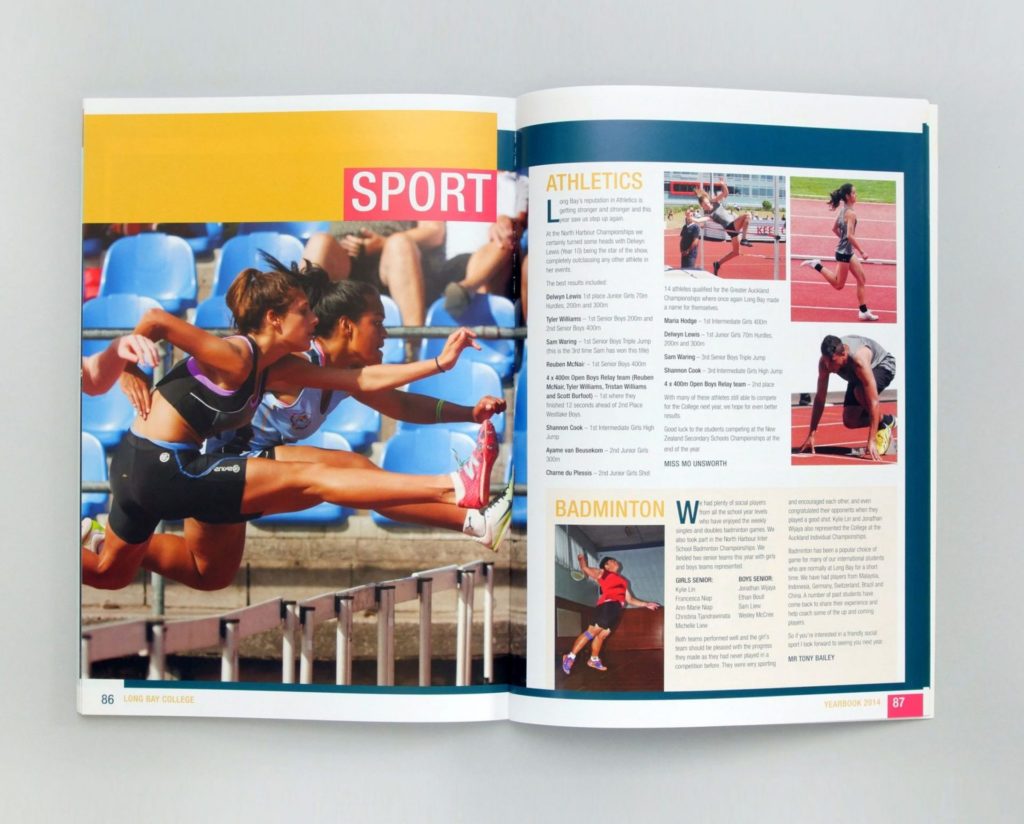
A photo shot from a high angle versus one shot from a low angle will produce very different looks. High angle photography is a good way to get an almost birds-eye view of the game. This is useful for capturing wide shots to set the scene of the game.
Low angle photos tend to be more powerful and evoke a stronger emotion from the viewer. Low angles magnify the stature of the players and immerses the viewer in the scene. This angle is great for sport as it makes players look heroic and larger than life.
If you are taking photos of younger children, it is more important than ever to take photos from a low angle. This way, you won’t just be taking photos of the tops of their heads!
Photograph What Is Important
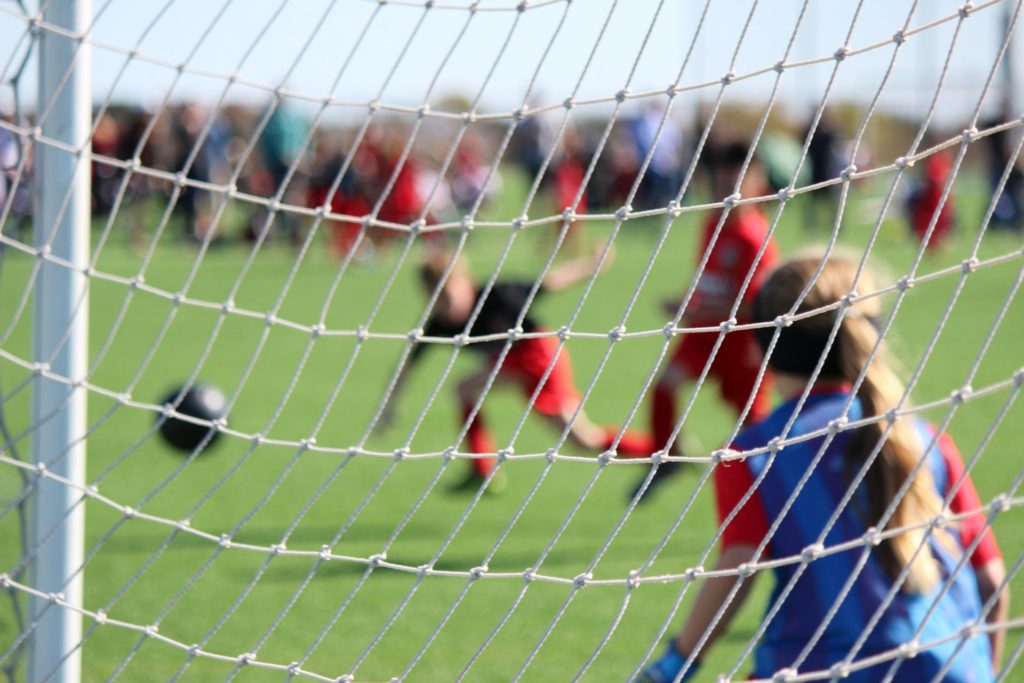
A shot of far away players on the field may be fine but there are better ways to capture the emotion and energy of the day.
Highlight the bond between the team, or their tense moments with the opposition. Closeup shots of faces, halftime huddles and victories being celebrated are all things worth capturing.
You wouldn’t describe many sports as being static – so why should your images look still? Mid-jump shots, the catch of a ball or a tense tackle brings movement to your image. This helps the viewer feel immersed in the game.
You never know when a good play is about to happen, so have your camera ready and keep shooting! Good sports photography is a numbers game – the more photos you take, the more you have to work with.


