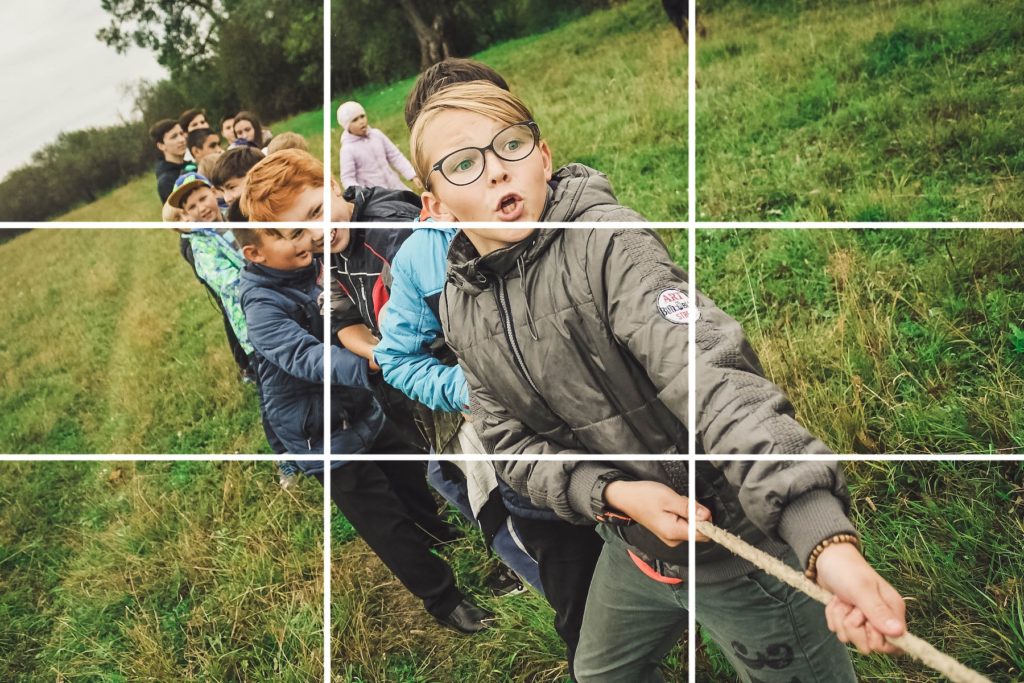
Rule of Thirds
A classic rule that’s meant to be broken, but for beginners it can make framing a photo easier. Imagine your frame is split into a 3×3 grid. Place any points of interest on the intersections of these grid lines and your picture will look just fine!

Our eyes scan top left to bottom right, so the top left point on the grid is where most people look first.
Get the Horizon Straight
Unless you’re doing this for a specific reason, it’s always a tell-tale sign of an amateur picture. Either shoot it straight or correct using your phones editing functions.
Find Light
As with video, although your phone can take a picture in near darkness, it doesn’t mean you should. Use natural light, place subjects near a window (but don’t shoot up against one or you’ll get a silhouette), open and close curtains and blinds to shape the light, take pictures under a tree on a harsh sunny day for a softer look. Think about how the light is falling on your subject and how you could improve it. If you just waited a moment for that cloud to pass by the sun would it look better, or worse?
Hold the Phone Steady
Again, as with video you should hold the phone still when taking a shot. This will ensure that you don’t get a blurry image, sometimes the blur isn’t noticeable until you get the photo on your computer and then it’s almost impossible to fix well. Tap the shutter button gently and hold with both hands if possible, but remember to keep your fingers away from the lens!
Don’t Rely on Autofocus
Often the autofocus on your phone is fine, but it’s worth being sure as things like reflections, foreground and moving objects can confuse it. It’s just a simple tap on the screen to set the focus point and well worth remembering to do.


