WINDOWS 10 OPTION 1
Oct 2018 v1809 updates of Windows 10 have a quick and easy way to grab an image from screen.
- Simply press WINDOWS, SHIFT and S together,
- Drag the cross hairs across the area of screen you want to copy,
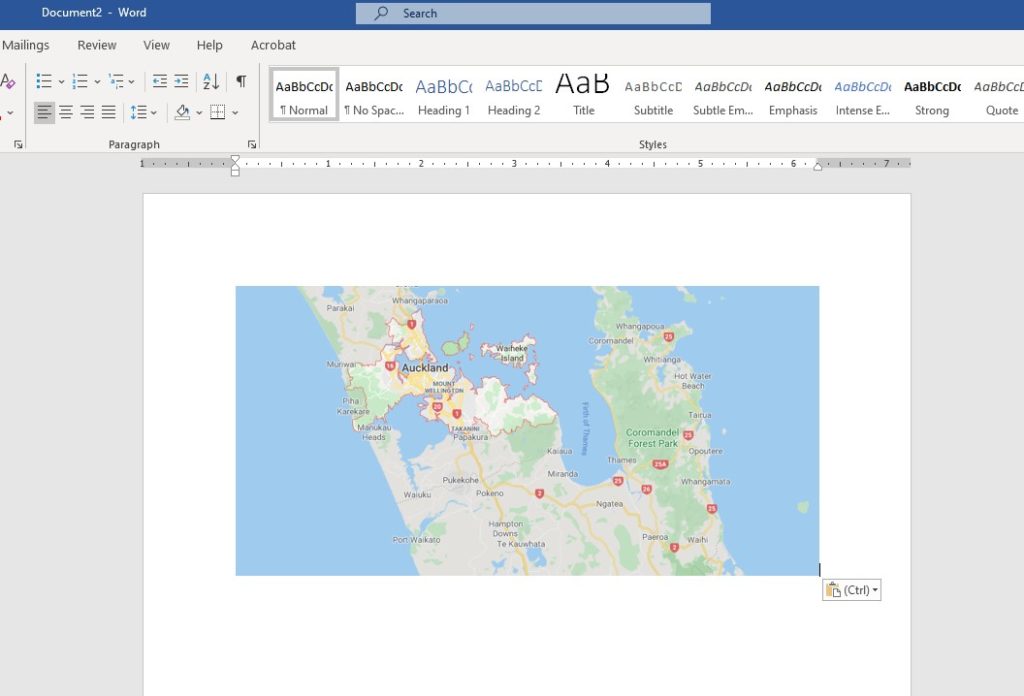
- This image is automatically copied temporarily to the clipboard. Go to your design program (such as Word), press CTRL + V and the image will paste into your document. Currently there is no way to just save the image as a file using this method. If you need to save, follow option 2.
WINDOWS 10 OPTION 2
For older versions of Windows 10 or if you want to save an image to a file, you need to use the Snipping Tool:
1. Click on the Windows Menu icon at the bottom left of the desktop,

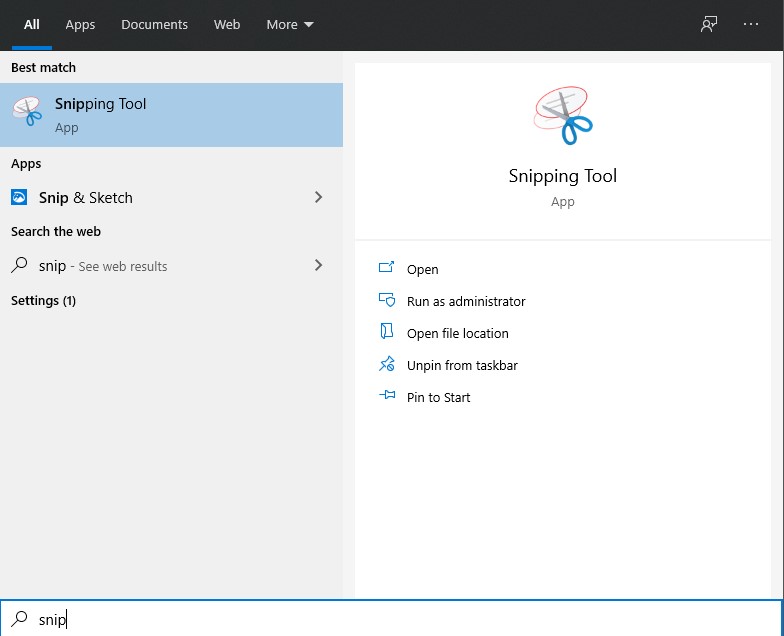
2. The search window on the left will pop up,
3. Now type ‘snip’ on the keyboard. You don’t have to select anywhere on screen to type this,

4. A new window will pop up showing all programs that fit the name you have typed. Click on Snipping Tool when it appears,


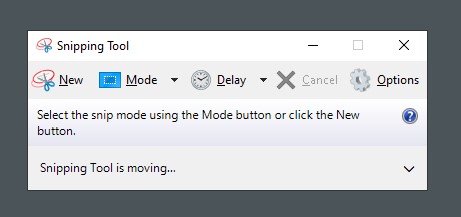
5. When the Snipping Tool opens, click on NEW and drag a square around the area of screen you want to grab an image of. This image is automatically copied temporarily to the clipboard, so if you go to your design program (such as Word) you can just press CTRL + V and the image will paste into your document where you can crop and resize it,
6. Alternatively you can click the disk icon on the Snipping Tool toolbar, to save the image as a JPEG or PNG file.

MAC

- Press the key combination: command, shift and 4 altogether. A crosshair will now appear,
- Click and drag around the area of screen that you would like copy,
- This image will now be saved onto your desktop or downloads (depending on your preferences).


